Dear CAD HELP CENTER readers after a long time I am here again to share my experience of installation of Solidworks 2011 Office Premium Service Pack 0.0 on my desktop computer in Windows 7 Ultimate x64 Edition Service Pack 1.
The same can be checked in the below picture.
Here again like my previous post for Installation of Solidworks 2010, I got the 30 Day trial copy of Solidworks 2011 x64 bit. So I decided to check whats new or spacial in Solidworks 2011 during installation.
Like installation of Solidworks 2010 the installation of Solidworks 2011 is very simple & fast. The process of installation may be shorter or lengthy on your machine as per hardware configuration. So just don't bother about the time it will take hardly 10-15 minutes.
After complete installation of Solidworks 2011 on my computer I realize that the overall process of installation is same as like Solidworks 2010 and very simple and didn't need any help, means we can say everything will complete automatically and we have to just click on the next button on every menu.
So I am describing the installation of Solidworks 2011 SP 0.0 x64 bit for single computer and the process is not include any license configuration from any server. This is a 30 day trial copy and need activation after 30 days. We can use it to learn whats new and advancements in the software and way to use commands.
If anyone facing the problem during License Configuration from server then the comments are most welcome and I will happy to do whatever I can do for the solution.
So lets start the standalone installation process of Solidworks 2011 x64 Edition on windows 7 Ultimate SP1 x64 .
For installation of Solidworks 2011 x64 Edition first of all you must have to have Windows XP x64 bit, Windows Vista x64 bit or Windows 7 x64 bit. You can find the minimum system requirement for Solidworks 2011 x64 bit here.
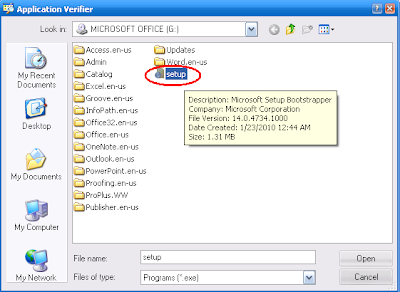
First of all mount the DVD in the drive and run the setup.exe.
This will show you the welcome screen of Solidworks Installation Manager. On welcome screen select Individual (on this computer) and click next button.
There after the installation manager will ask you to enter the serial no. information. Fill the blanks with the Serial keys provided with the DVD and click on next button.
Then it will check the internet connection for any updates available on the site (like Service Packs) during System Check. If you have internet connection then it will show you available updates. If you don't have internet connected then it will popup a warning massage and ask you to Retry or Cancel.
Just click on Cancel and continue the installation.
After click on the Cancel Button (this will stop the System Check process) and proceed to the next screen.
The next screen will show you the Summery. Here you can select which Products and Add-Ins you want to install. In this new release you will find a new Download Option to enable or disable the background downloader. If you don't have internet connection then you should disable this option via clicking on change button given on right side of this feature.
The products are detailed below:
In the Summery menu you can select the products by clicking on the
CHANGE given on the right upper corner. You can also Change the Installation Location and Toolbox/Hole Wizard Options here.
After doing all the setting as per your requirements click on Install Now Button given at lower right corner.
This will start the installation of selected products and you have to wait till completion. First it will start the installation of Required system components witch are available in the DVD and there after will install Solidworks 2011.
After completion of installation the Installation Manager will show the Installation is Complete message.
At the same time it will show me whats new in 2011, tell us how we can improve your installation experience and Solidworks Customer Experience Program.
Its on you what you want to do now. Select the option you want and click on the Finish button.
So here you can see the capabilities of Solidworks 2011 during 1st run of program. A very attractive and lovely design of Sports Car. The image shown during start up of Solidworks is alternate each time.
In the last step Solidworks 2011 ask you to activate the product. Here select the activate now or activate latter option and click on finish. You can use the product for 30 Days without activation.
The below screen showing the about Solidworks.
Hope that this will help you all and if is there any query then feel free to share on CAD HELP CENTER via comments.


