CAD Help Center

CAD Problems? Search here.........

Friday, February 25, 2011

Installation Guide for Office 2010 on Windows XP x64 & Windows 2003 x64

Hi freinds,

I know this post is not regarding any CAD installation but may be necessary for someone who want to install MS Office 2010 in Windows XP x64 bit version. If you owns MS Office 2010 (32 or 64 bit) then you are unable to install it directally in Windows XP 64 bit, because Microsoft dropped support for x64 edition of Windows XP and Server 2003. So to install Office 2010 in XP x64 or Windows 2003 x64 you will need to trickout the way to install with the help of Microsoft Application Verifier x64.

So here are the Step by Step Guide for installation:
  • Insert or mount the Office 2010 DVD, cancel the setup if begin by auto play.(If you try to install Office 2010 directally it will show an error massage of operating system requirement as shown below.
  • Now Open Application Verifier from all programs, click on File->Add Application.
  • Select and open the office setup.exe from the DVD. as shown in below pictures.
 

  •  On the right Tests pane unselect Basics, Expend Compatibility list and select HighVersionLie as shown below.
  • Now Right click on HighVersionLie and select Properties as shown below.
  • Set the following values as shown below :
     Major Version : 5
     Minor Version : 1
     Build Number : 2600
     Service Pack Major : 3
  • OK the Properties window, then click Save.
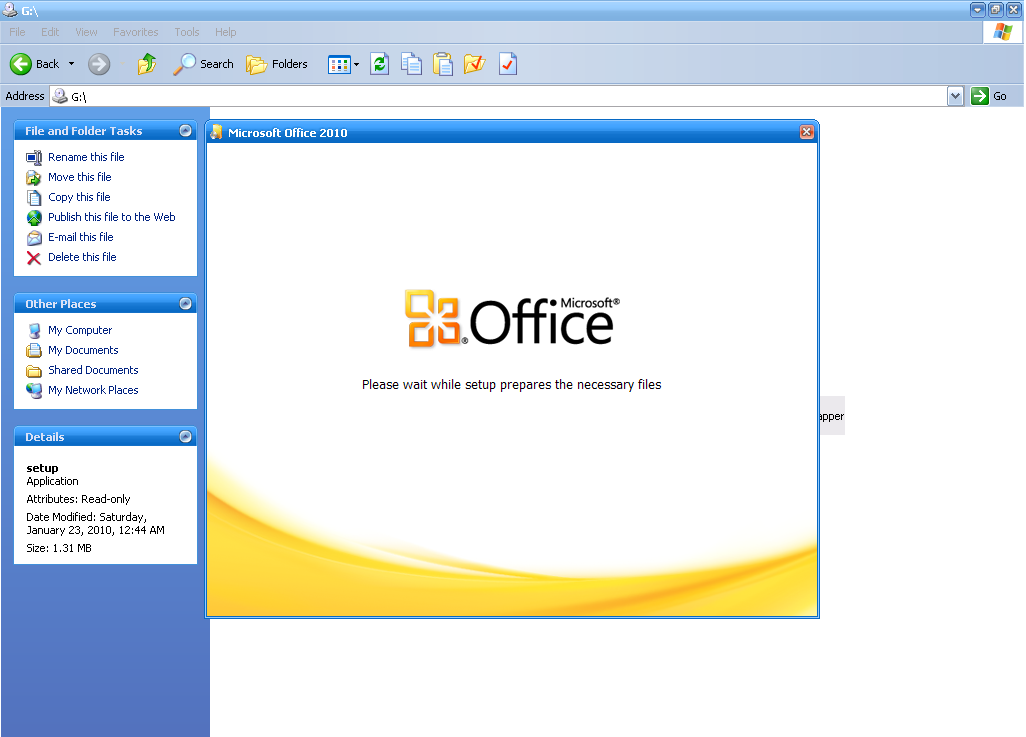
  • Now install the Office 2010 by Double Clicking on Setup.exe in DVD as shown below.


  • Now you can Install and activate Office 2010 in XP x64 bit like you did on XP x86, Vista or 7. 
This exercise is done in Windows XP SP2 x64 bit. Hope that this will help you. If need any help regarding this leave your comments.

Wednesday, February 2, 2011

Step by Step Guide to Install and Configure HyperWorks on Windows XP, Vista & 7 (32 & 64 bit)

Hi dear all friends.
First of all I am sorry for late reply because a lot of friends asked for the installation procedure around two or three months ago. But I was too busy so that its take a lot of time to help you all.

So today I will share and discuss the installation of HyperWorks on Windows XP x64. Hope that this will also work on other Windows including Window Vista (32 & 64 bit) and Windows 7 (32 & 64 bit). Before installation make sure that you are logged on with Administrator account because You need administrator permissions to complete this setup.

The installation will complete in following steps:
  1. Install License Server. 
  2. Prepare license file for installation and Configure License File.
  3. Install the HyperWorks 10.
  4. Set up the environment variable.

1. Now Install License Server on your computer.
  • Open your DVD and go to Licensing Directory.
  • Double Click on Setup.exe file. This will start the installation of License Server on your Computer.
  • It will show you the Welcome screen. Click on Next.
  • Now it will ask you to choose destination location. Keep the location same as shown. ( Like : C:\Altair\licensing10.0)
  • The setup will complete the installation and ask you to Finish.
2. So we will start from the beginning with preparation of License File. To prepare and edit your license file for configuration follow the below steps :
  • Copy your license file in C:\Altair\licensing10.0\security.
  • Open your license file with notepad.
  • Type your Computer Name in First line After SERVER (Like: Server complete_name) And after port value (Like : 7788@complete_name) as shown below.
  • Save and Close the License File.
Here complete_name is my computer name. To know your computer name click here.


  • Now run the FLEXlm Utility from Start > All Program > Altair Licensing 10.0 > FLEXlm Utility
  1. Click on Config Services.
  2. Type the Service name Like: HyperWorks License Server.
  3. Click on Browse and select the Lmgrd.exe from C:\Altair\licensing10.0\security\bin\win32\lmgrd.exe
  4. Click on Browse and select the License File from C:\Altair\licensing10.0\security\altair_lic.dat
  5. Click on Browse and select the Path to save the Debug log file as shown.
  6. Check the Use Services.
  7. Check the Start Server at Power Up.
  8. Click on Save Services.
  9. Now go to Start/Stop/Reread and Click on Start Server.

Now Your License File and Server is Configured and License Server is started.

3. Now you can install the HyperWorks 10.0 on your computer and run it  without any problem.
  • Insert the HyperWorks 10.0 DVD for Windows into the DVD drive. The Altair HyperWorks installation wizard launches automatically. If not, double-click: <DVD drive letter>\setup.exe to start the installation wizard.
  • On the Welcome window, click Next.


  •  On the Choose Setup Type panel, select: Local for stand-alone local installation an click Next. (Software Server for an application server installation)
  •  If you selected Software Server, you will see a message box regarding the use of Network
    Neighborhood. Read, and then click OK to proceed.
  • On the Choose Destination Location dialog, select where HyperWorks will be installed.
  • For local installs: Verify that the path name specified in Path: is correct. The default path is
    C:\Altair\hw10.0. If needed, use the Browse button to select a different directory.
  • For license server or application server installs: Click the Browse box and find Network Neighborhood. From Network Neighborhood, locate the server name and specify the installation path.
  • Click Next.
 
  •  On the Choose Installation Type panel, select either Complete or Custom. Complete installs all HyperWorks applications. Custom allows you to choose the individual applications you want to install.
 

  • If you selected Custom, select the applications to install by activating the check box next to the
    name of the application to be installed. 
  • To de-select an application, click the check box to remove the check.  
  • Note: HyperWorks Desktop applications contain a functionality called HyperWorks Desktop Quick Launch. It automatically pre-loads the HyperWorks Desktop readers and DLLs upon machine booting time when this function is enabled. To turn it off, deselect it from the list under Custom/Desktop.

  •  The help is an HTML browser-based system that requires a proper browser to view the content.
    On Windows, the default browser will be used by HyperWorks help. If the help is deselected and not installed on this machine, you can specify the path of an existing 10.0 help installation in the window prompt, which allows applications to access help set on a different server.
 
  • Click Next to start the installation.
  • The Setup dialog indicates the components being installed.
  • At the end of the installation, the Altair installation wizard displays several information boxes.
    Read each, then click OK to continue the installation process.

  • On the InstallShield Wizard Complete dialog, click Finish to close the Altair HyperWorks
    installation wizard.
4. Set up the environment variable:
This method is commonly used to connect a local HyperWorks installation to the Altair license manager. It sets the environment variable ALTAIR_LM_LICENSE_FILE using the port@hostname syntax. Any time the license changes, only the license server(s) will need to be updated. Follow the instructions for your operating system.

Windows XP x64
1. Go to Start menu.
2. Right-click My Computer
3. Select Properties.
4. Select the Advanced tab.
5. Click Environment variables.
6. Under User Variables:, click on new and type  ALTAIR_LM_LICENSE_FILE in variable name.
7. For Value: 7788@complete_name (Replace complete_name with your computer name)

Hope that this guide will help you to install, configure and run the HyperWorks on your Windows plateform.
If have any query/feedback feel free to leave comments.

Thanks.